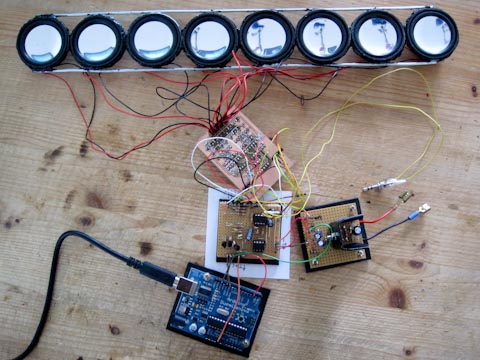
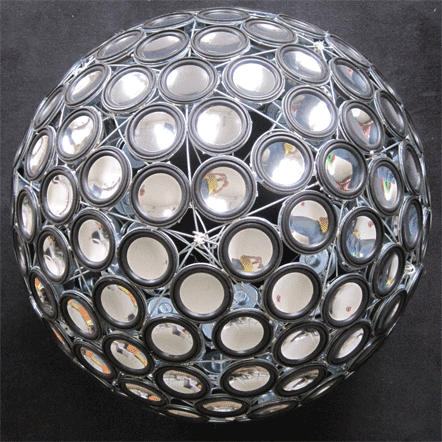
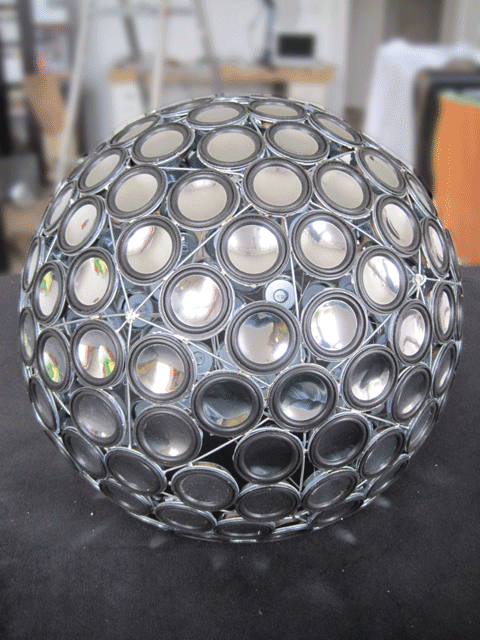
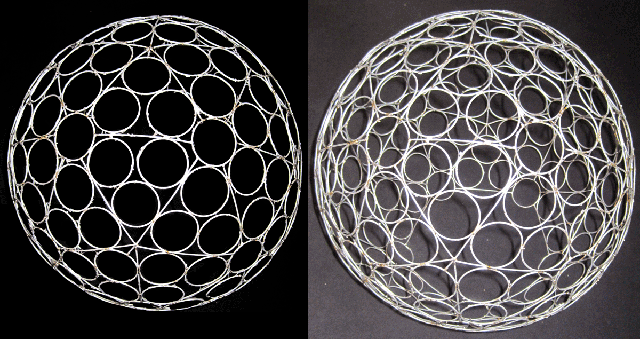
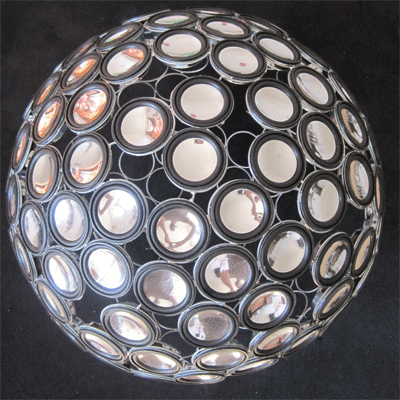
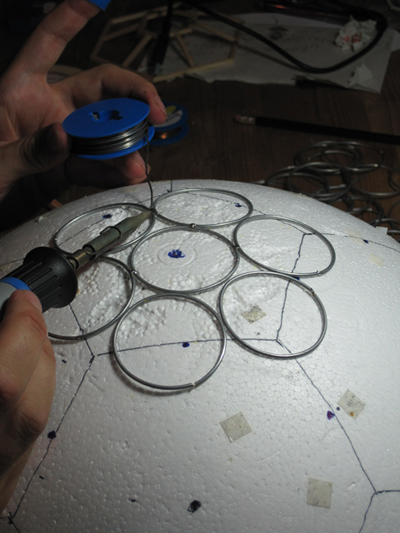
My work for the Computerspielemuseum (video game museum) is done, so I started right away to work on my Diskokugel again. Theres a few updates form the last time I posted on this:
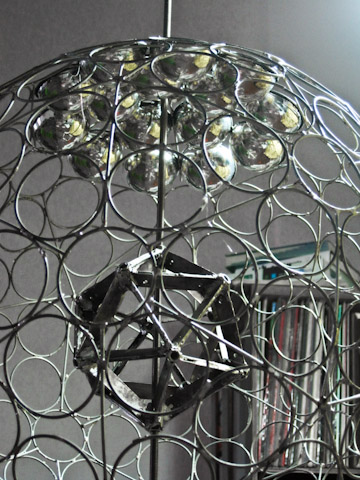
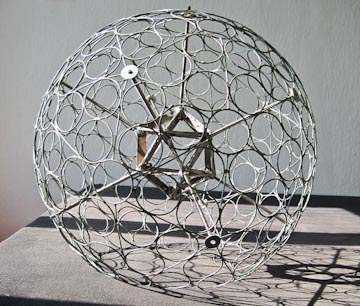
I decided to stay with the wireframe as it is, not filling the blanks in between. I think, looking into the thing is just as mindblowing as looking at it, especially because I came up with a solution for the resonating body of the speakers: chrome christmas baubles! Since it was the time of the year I found some made of plastic in just the right size to fit the speakers. Another problem solved.
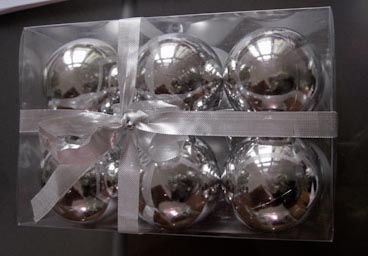
Kitsch is the solution...
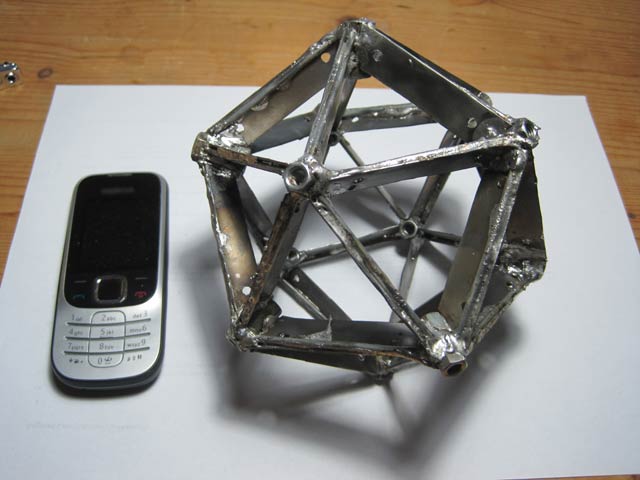
Secondly I sat down looking for a solution to keep the whole ball stable and to attach the electronics to. The surface of the ball has 12 “blank” spots (the centers of the pentagons of the soccer ball pattern). Here, something could be attached to connect to a support inside. So I was looking for a body with 12 corners, an icosahedron. It took me only about three ours to solder this model:
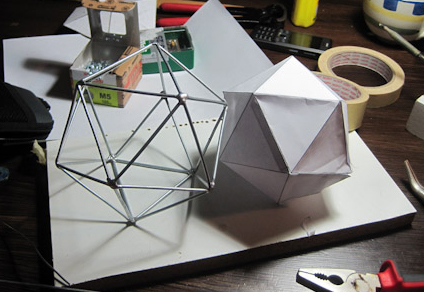
There she is
Quite beautiful, isn’t it? The plan is, to have either a shim or a nut on each corner and to connect to the “surface” via thread bars. The circuit boards will be attached to the edges, making it a kind of star floating within the ball with lots of wires leading to the surface (I will probably wind them around the bars).
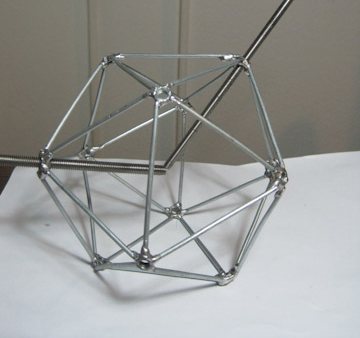
I replaced the corners with nuts. Two thread bars sticking in.
Problem right now is, to construct this support in a manner that actually will carry the load. the thing on the picture is soldered with regular solder and won’t last. I’d have to at least braze or weld the stuff. A first attempt to braze it at home failed miserably, so I’ll have to look for help somewhere.
