Posts Tagged ‘Electronics’

Yet Another Project: a PLC

Wednesday, May 27th, 2015

I’ve spent the past 2 years building machines and designing controller boards for them. These boards are all still in alpha status and I am quite sick of having to design the whole board anew whenever someone comes up with a new feature.

One could keep the whole thing extremely modular and design something around a master controller communicating with smaller boards that all have a certain purpose. But I want at least a certain functionality on one board to keep the wiring and communication programming as simple as possible. So currently I am thinking about building a stackable board that has the main processor and all the com I/Os on it that can be expanded by boards with extended features such as relays, decoupled outputs and such.

I was inspired by the [controllino]. I might as well buy one, but they seem to be in trouble with their part suppliers and I just can’t wait. Also, I want to do this by myself, learn stuff and make it available to everybody.

I did some research and stumbled over the [OpenPLC] project. I like what he did so far but I find the form factor a bit too clumsy for my purposes.

In the next weeks (and months, as these things tend to turn out) I will do some research/crowdsourcing as to different parts of the circuit and I will try to document it here. So whoever is up to such nerdy stuff: stay tuned :)
Diskokugel Progress 10/13

Sunday, October 6th, 2013

Some months went by since I last updated on the state of my [Diskokugel] project. It might seem a never-ending story this one, but rest assured, I am getting there.

In the last months I started working on some of the more tedious tasks such as cutting, crimping and soldering connectors to 100 speakers and then mounting them into the framework. Then I started assembling them but thought better of it. At the moment I am missing a PCB that does the pre-amplification of the audio as well as converting the Arduinos signal voltage levels (0-5V) to those of the rest of the circuit (+/-6V). Such a circuit already exists, of course, but not in a format that would fit in my construction. Realizing how much cables actually have to be connected inside the Diskokugel, I decided not to assemble it temporarily because it would take ages to disassemble it again. So you will have to wait until I got around to design that PCB and ordered it.

Until then these 2 images will have to do:
 

Diskokugel Eyecandy

Wednesday, March 6th, 2013

To motivate myself (and to keep you entertained) I’ll show you some pictures of the recent progress.

With my bold head glittering from cold sweat I took a soldering iron and separated my nice round [Kugel wireframe] into segments again. Luckily that went well, if I ignore that I had to buy a new power iron because the old one broke for no apparent reason(it was exactly one! day over its warranty). To those elements I attached my freshly cut [mirror balls]. I also took the [useless PCBs] as dummies and attached the to the icosahedron inside. I then tried to figure out a pattern how to attach the speakers to the PCBs inside, which was a bit tricky because the cables wont be distributed evenly.

Anyway: having a party in our place there was a need to clean up and make things look good. As it turns out, putting a light inside the existing object makes it quite flahy. But see for yourself…

Mixer 0.1

Friday, January 18th, 2013

The Mixer 0.1


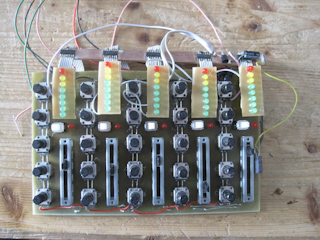
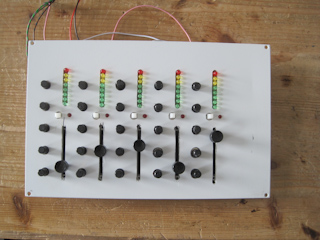
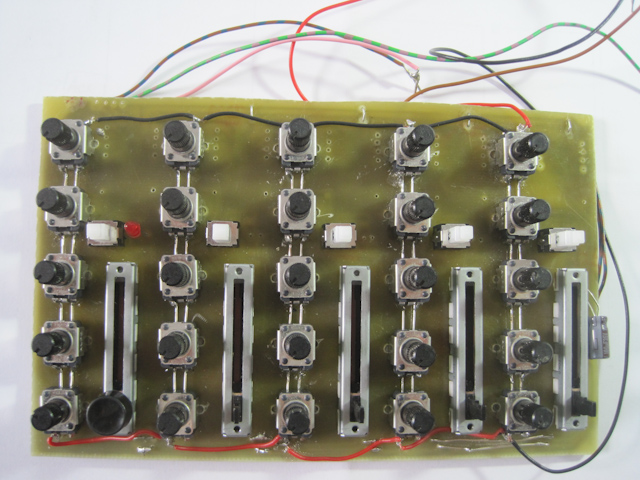
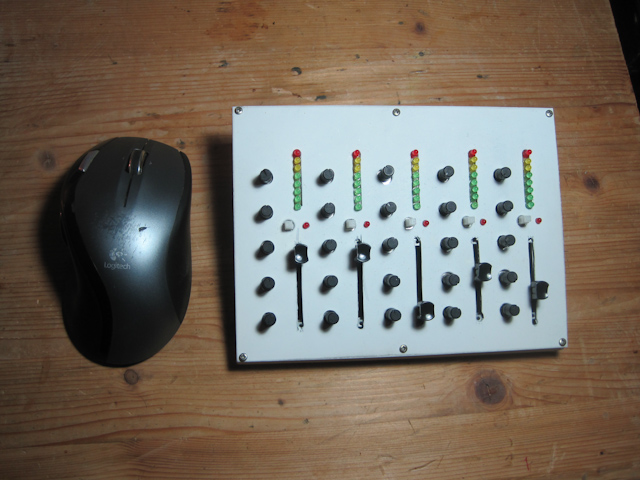
Mixer 0.1 is my first approach to building a compact universal controller for music programs. It features 5 “channels”, each with one slider, 5 knobs, one button with LED attached and a vu meter. It’s all made to fit on a standard EU pcb of 16x10cm.

More pictures and video on the bottom of this article!

Kicad schematic of the beta and the Arduino patch can be downloaded [here]

(more…)

Micro Rivets for Soldering

Tuesday, November 13th, 2012

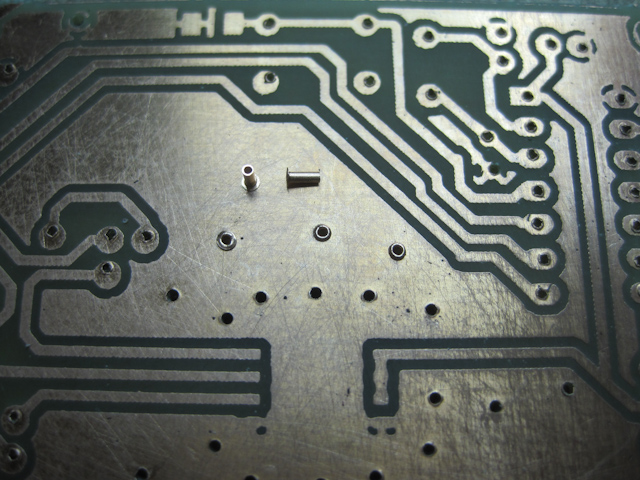
Etching your own two sided boards is quite a hassle. Apart from getting your foil print right,  having both sides in line and doing all the drilling, I found making vias with wires quite tiresome. The wires tend to leave the holes again whenever you try to solder something surrounding them. Especially when working with fine tracks (which is mostly the case with me, nowadays) this can be very annoying.

Luckly I found a forum where someone recommended to use small copper rivets for this. These rivets are only 0.6mm in diameter. Getting them into the holes is a bit tricky, but the its easy to open the other side with a small chisel. There exists, of course, also a special press for this, but the mindset of someone who actually will pay € 160,- for such a thing will forever remain unknown territory to me…


0.6mm is indeed very small...

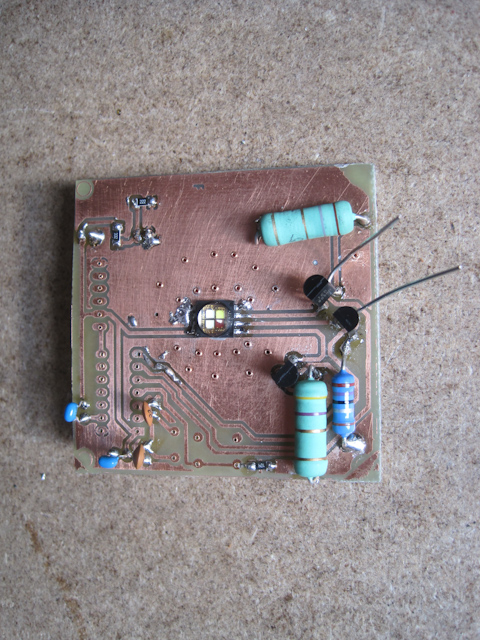
Here, the rivets are used to conduct heat of a 3W LED to the back of the pcb.

Building Controllers 0.1: Progress

Thursday, November 8th, 2012

I’ve continued on my Mixer project, adding 8 per channel as meters. Currently, each meter circuit consists of a 4094 register attached to a uln2003 transistor array. The idea behind that was that it’s actually possible to control each led individually this way. However, the wiring of these two is pretty space consuming and besides the two chips also each led would need its own series resistor. I tried tow hack myself around that by controlling the leds voltage with pwm from the arduino I use to control and read the mixer. Unfortunately this leads to the pwm leaking into the whole circuit and thus screwing with my fader readings. No good…

For the next version I will use an MC34063 instead. It takes an analog control voltage to light up up to 10 leds and already provides the series resistors inside. Since I will not use the pwm outputs of the arduino for anything else, it seems convenient. The 34063 is a bit pricey though (€1,35).

Apart from all that, the setup worked nicely and I’m looking forward to having it all save and sound in a case to actually start playing with it!

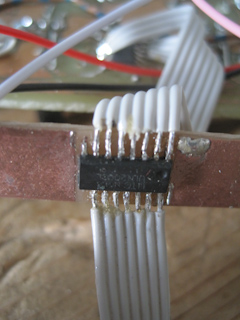
There was no space left on the board for the uln2003s, so they needed to be attached with cables. Sisyphean task...

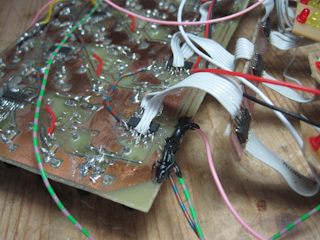
This board is seriously overhacked...

The raw mixer...

...looks much nicer once you put a lid on it :)

Quäkmonster Workshop for KOMA Elektronik

Wednesday, November 7th, 2012

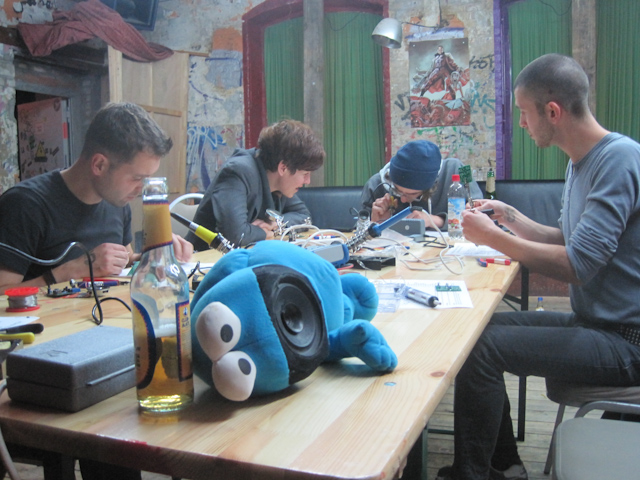
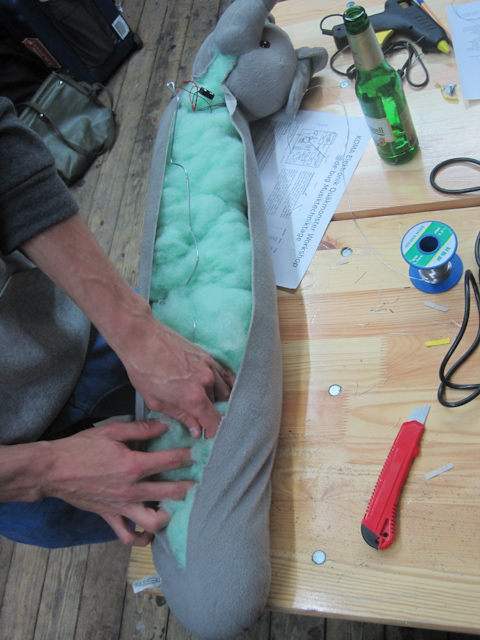
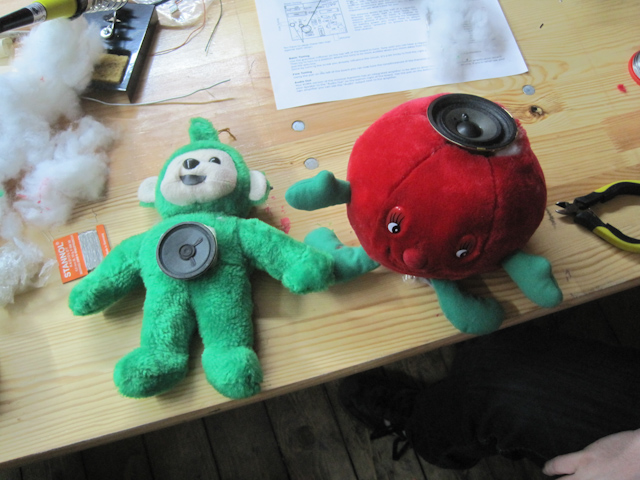
KOMA Elektronik asked me to host a workhop making Quäkmonsters for DE:BUGs “Musiktechniktage” last week. It was quite fun and we got some very nice results. With this positive experience, stay tuned for more to come!

The Original, waiting for company

Some bodies are made for antennas :)

These two came out great!

Dissecting a Gear Motor

Monday, October 29th, 2012

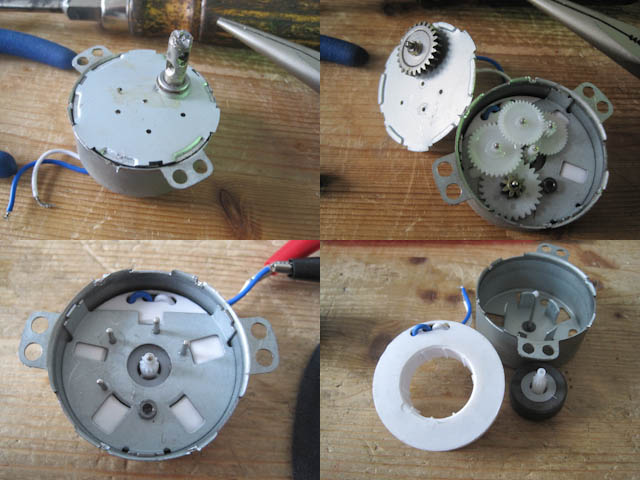
There’s a project I’m working on (yes ANOTHER one, stay tuned, I’m serious with this one!) where I need to use a motor with around 20rpm that runs on 3-5V DC. I actually [found one] but it’s awfully loud. I opened a gear Motor that runs on 230V AC to see, why that one is much more quiet (only vibration).


the 230V AC mirror ball motor: the gears inside, then the motor, consisting of a permanent magnet in the middle and a coil wired directly to 230V

My guess is that the DC motor produces more noise due to its higher pulse frequency and the brush contacts whereas the AC motor has no brushes and pulses with 50Hz, a frequency not amplified by its enclosure…

Building Controllers 0.1 [updated]

Saturday, September 22nd, 2012

Being a fan of customized user interfaces, I started building me a small mixing desk controller.

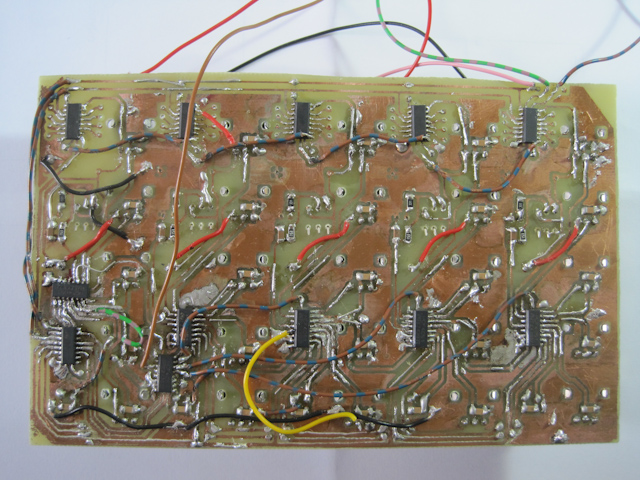
The idea is to in the end have a set channel modules that I can stick together and have a mixing desk controller of the size I need. Below you see my first test version that has 5 Channels with 5 potis and one slider and a button with led each (makes 30 potis/sliders in total). They’re connected via the obligatory Arduino, multiplexing one analog in via a combination of 4094 registers and 4051 multiplexers.

As you can see, the first board design needed a considerable amount of hacking. The main feature, a backchannel that feeds 5 vu meters with audio levels, isn’t on the board yet. But so far it works. Stay tuned…


The Dark Side. Quite a few bridges were to be made...


Front view. The pcb is a standard EU (16x10cm). Pretty compact :)

[UPDATE]

I took a back plate of one of our enclosures at work to build an enclosure for the mixer. I already managed to control PureData and Ableton with it. Next is Virtual DJ. It’s fun for sure!

Now with a little improvised front plate

Fail: a Ball Bearing as Sliding Contact

Saturday, May 12th, 2012

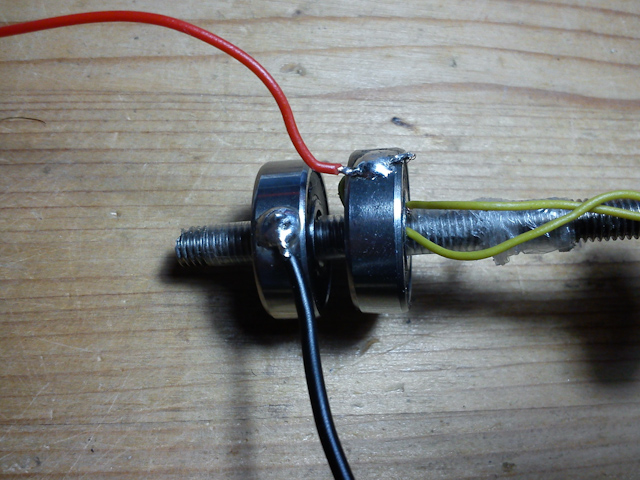
Coming closer to the point where the electronics for [Diskokugel] are settled, I start worrying about how to get sound and power into the turning thing. While with the sound I’ll most probably go for a wireless solution, with the power that’s highly unlikely. So I did an experiment with some ball bearings I had aquired for the (still pending) [cnc project]. I soldered wires to the in- and outside of the bearings to power a turning 1W LED. That resembled the setup I would have liked to use building a second [LED lamp]. Unfortunately even with a 1000µF capacitor on the LED end it wasn’t possible to keep the power straight. It might be helpfull to get the plastic caps of the bearings and apply a certain pressure on one side to keep the contact constant, but in general I abandoned the idea for high power connections. Considering the fact that the Diskokugel might use up to 200W at 5V there seems no way to keep the supply steady this way…

2 ball bearings on an axis as sliding contact