Blog

AudioSphere for PDCON

Sunday, August 14th, 2011

Having introduced the [Diskokugel] project at Berlins biweekly [puredata] [user group], I was asked to build an installation for the finalizing event in Berlins [LEAP] gallery. Being busy doing technical coordination for the [Über Lebenskunst Festival] this was quite a task.

I used the five prototype circuits to build a walk-in sphere of 40 speakers. The speakers were attached to nylon strings stretched from the ceiling to the ground, so you could bend them aside to step in. In an effort I provided a crude interface in PD that provided a joypad for people inside the sphere to select different programs, such a random, sound going in circles, etc.

Contentwise, we had placed a call for content, which resulted in one piece that was handed to me and which worked quite well. I have yet to get the adress of the composer to thank him again ;)


The result was quite to my liking and so was the feedback (apart from nobody understanding the interface, but in the end that didn’t matter much). The sphere was fun to use. I personally found it pretty dizzying standing inside the speakers while the sound came from a different direction every 25 milliseconds. Unfortunately, as of now there are no pictures to show. The  installation stood at LEAP only for two days, in which I had forgotten to bring my camera. Hopefully I will find someone of the PDCON who made good ones.

[UPDATE: pictures of the building process and a picture from a mobile phone (thanks ckp and astring!)]
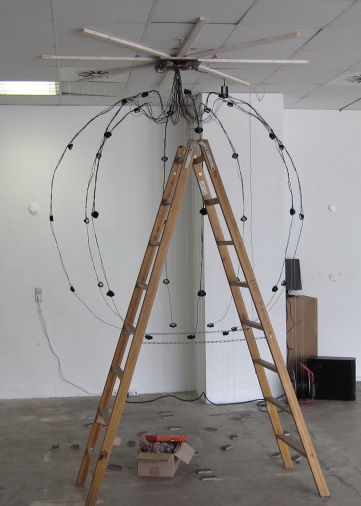
a picture by astring
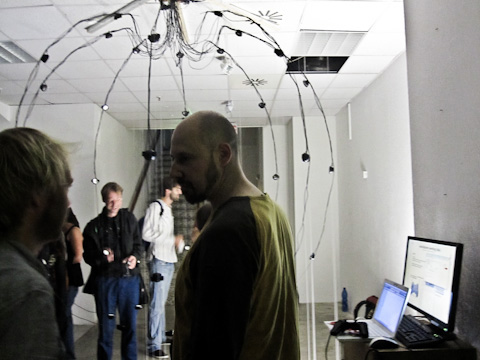
in action. the nylon-strings could be bent apart to step inside. (pic by ckp)
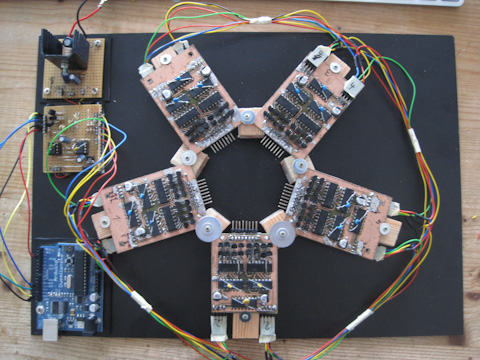
arrangement of the circuits
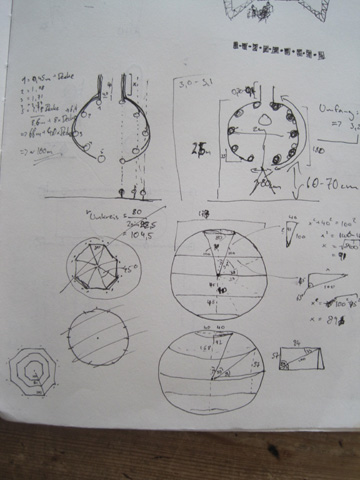
some notes
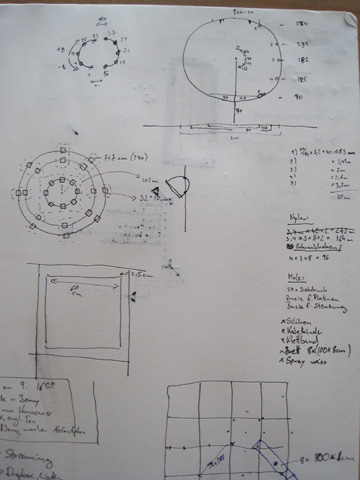
more notes
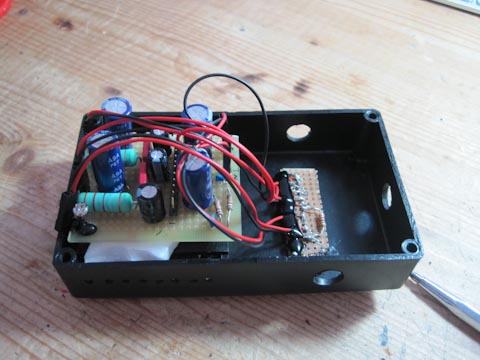
A new Gadget 2.0

Wednesday, July 6th, 2011

YEAH!!!!

Behold! I finally upgraded my [bike sound system], adding extra power, a subwoofer and a battery charger for everlasting supply. It doesn’t look as decent as the last one did but it totally rocks. The first test run was a trip to the [Fusion Festival], around 120 kilometers. The dynamo provides enough power to reload the batteries while the system is playing.

I started of with the [TDA7052] 1W amplifier I had already used with the old sound system, only this time I used two, one for bass and one for mid/high frequencies. But the TDA is made for 8Ohm speakers and my bass speaker had 4Ohms and so had the two high/mids in parallel. So I decided to get something bigger. Now I have an [AN7148] delivering 2×2,5W at 12V 4Ohm which is totally sufficient to predominate the occurring head wind and most traffic noise :)

The battery charger was built according to the circuit provided by [forumslader.de] . Documentation is in German only but it’s extraordinary! It’s housing has still to be completed. To be done in time for the Fusion Festival I was a bit in a hurry.

The AN7148 in its housing. Batteries (9xNiMH) sit at the right.

The battery charger

The battery charger


1,2,3 test…(3)

Sunday, June 26th, 2011

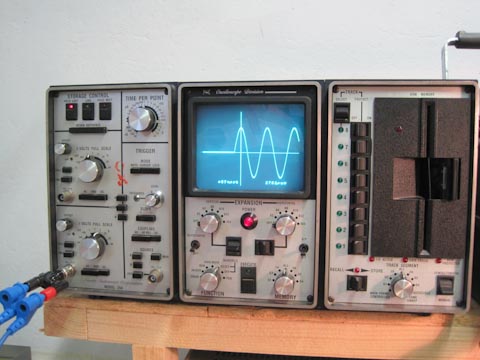
I found the time to go to Leipzig and use the [sublabs] oscilloscope on my [Diskokugel] circuit. Actually Nobody did that, assisted by Christian. It took a while to get it to work and the result was both satisfying and not satisfying. Because there was nothing to see. The crackle we hear when switching a speaker on and of did not show on the oscilloscope, which means the circuit works perfectly, and leaves us clueless as to the source of the problem. I did some more experiments but still have no idea.

Well, I might just leave it at that. Since the crackle is only really a problem when switching extremely fast or when a pure sine is used. I need to get this ball done now…

nothing to see here...

Keep it moving

Tuesday, June 21st, 2011

My DJ-Blog is getting dusted, so I decided to move it here. That won’t change much in the sense of missing content, but there is one less Blog to nurture ;)

However, soon there will be a “Download” section for my mixes and other stuff, such as puredata patches etc. I’ll keep you posted.

1,2,3 test…(2)

Tuesday, June 21st, 2011

I’ve been quite busy in the last weeks:

I presented my project at the [PD user group] in Berlin and got some interesting feedback. They would like to exhibit the Diskokugel or an installation based on it at the final party of this years [pd-con]. I feel honored but I have no idea if I can actually make it until then. Money is also an issue here. Having all the circuit boards made will cost…

I solved half of my clicking problem by getting the synchronization with the sound phase to work. Still, clicking occurs and since there was no oscilloscope at hand, I recorded it to make sure it’s not some kind of acoustic illusion due to differences in speaker loudness. The waveform clearly shows a distortion when the speaker is activated. When it’s turned off, something produces a sudden click and then the speaker swings out.

I will meet with Nobody and Christian (god praise his patience!) at the [sublab] this weekend and we will check the whole setup with an oscilloscope. I hope that we can fix this easily.

The noise occurring when a speaker is activated

When the speaker is turned of, something gives it an extra push.

1,2,3 test… (1)

Thursday, May 5th, 2011

Today I did the first test run with one of the soldered boards and the Arduino. After some adjusting it works but I am not quite satisfied.

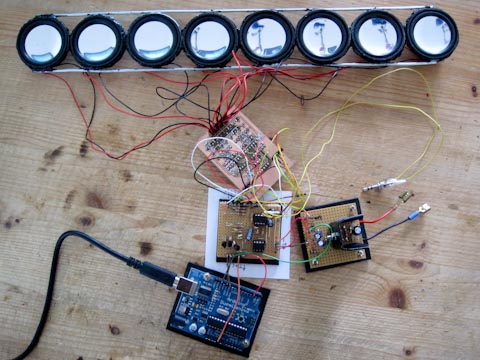
On the picture below you can see the setup: 8 speakers, attached to the switching board. Between the switching board and the Arduino is a board that converts the Arduinos signals (0/+5V) to the current level used by the switchboard (+/-5V). This converter board also houses a TL072 for pre-amplification and an LM311 to detect the audio signal’s null phase. This is necessary to prevent the speakers from clicking when switched on and of. And it doesn’t work jet. Why, I’ll have jet to find out…

Speakers, switchboard and Arduino connected. To the right is a voltage divider, converting 12V to +/-6V and GND

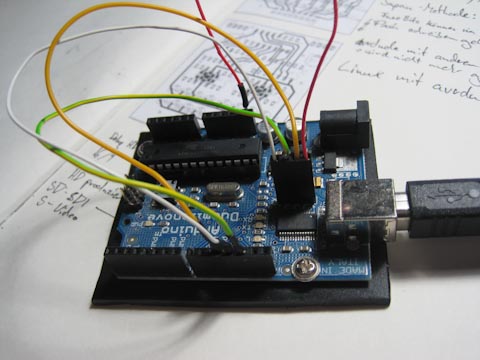
Burning a new bootloader into my Arduino Duemilanove [solved]

Wednesday, April 27th, 2011

[UPDATE]

I finally made it happen!!!!

After two days of suffering I found a thorough explanation, how to burn the Arduino bootloader on an Atmega328. This is the solution.

The 'self programming' Arduino

[/UPDATE]

I wanted to start testing the freshly soldered boards for the Diskokugel when I had to discover, I had made a big mistake simply using the Atmega328 of my Arduino in my LED lamp. It turned out to be not quite as simple to replace since the Atmega needs a special bootloader to work in the Arduino board.

There are several ways to burn that bootloader into the chip. The easiest would be having an Arduino and programming it to do it. But since mine was without working chip, I had to look for other solutions. I found one that uses the FT232 on the board to program the Arduino itsself without an AVR writer. However, the solution programmed there is for Windows only. There apparently is a way to do it with a Mac but I wasted a whole day on trying to get it to work. It’s really tiring, installing package after package due to dependencies, having to compile it all, etc. I ended up compiling packages and, when I had finally done that, having forgot what other package I actually wanted to install in the first place.

I’ll try again tomorrow, taking the chip out of the lamp and putting it back into the Arduino. If the Arduino-as-AVRISP works, Ill simply burn me a stash of Arduinos…

Diskokugel Electronics

Thursday, April 21st, 2011

Christian provided me with some sample circuit boards which I assembled the last days.  Christian already had soldered the smd parts in place . Considering my latest clumsy attempts with the icosahedron, this was a wise thing to do. It was still a lot of work to just get the ICs and transistors in place. Once done, I discovered a major flaw in our board design, since the connectors aren’t yet ready to cascade the things. Back to the drafting board…

However, now it’s done and I can run a test with 40 speakers!

Five boards to run tests. The smaller one is the first Christian assembled, the others are ready to be attached to the icosahedron.

Re: Diskokugel (icosahedron 2) [Updated]

Friday, April 8th, 2011

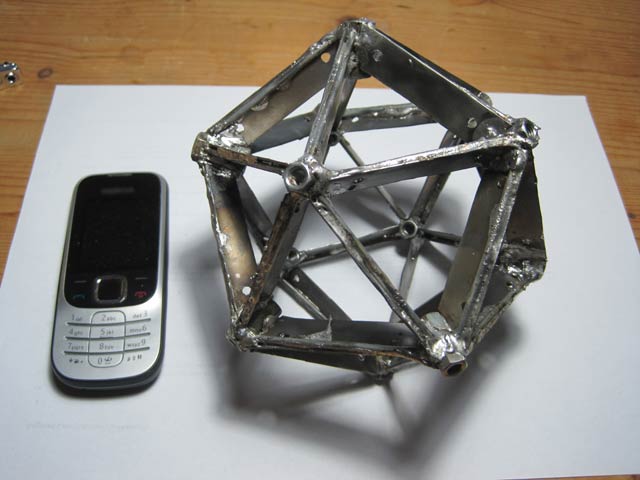
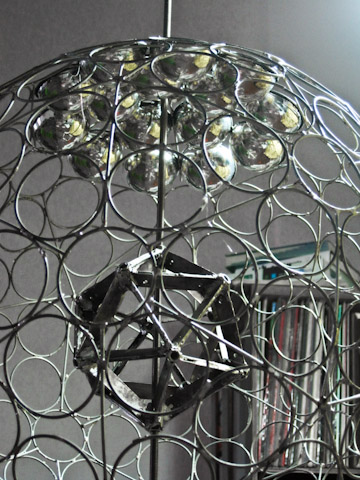
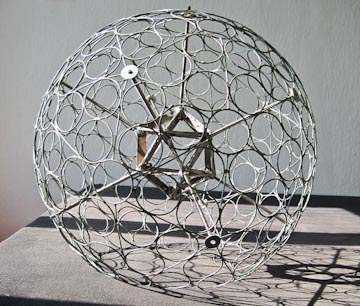
I can’t believe how much time this took. I tried to find someone to help me weld theicosahedron but whatever I tried, something always went wrong. So, finally, I did it by myself. The result is pretty ugly (compared with how it started) and I guess I’ll have to invest some money to have someone professional do this once it proves to be a working concept. Thank god I don’t rely on my soldering talent to survive…

Not pretty. But robust.

UPDATE:

I took a part of the frame and used some acrylic compound to attach some bodies to it. I am not quite satisfied with the looks of the compound. I’ll try black hot glue the next days. Another alternative could be silicone.

Then I started to solder shims to the points where the frame will be attached to the icosahedron. Lot of work. Lot of progress.

full view from above. You can see the icosahedron inside.
From the inside you can see the chrome bodies
another full view

Tags:
Posted in Blog | Comments Off on Re: Diskokugel (icosahedron 2) [Updated]

A little LED-Lamp

Monday, February 28th, 2011

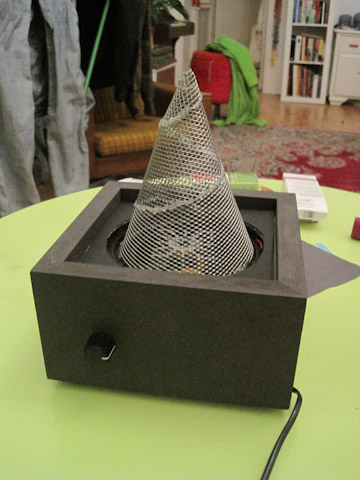
I built a lamp for my girlfriend. It’s quite simple: I took a rotating part of a lamp I broke some time ago (some stupid aquarium simulation), a spare 3 color Cree LED and chicken wire. A little cheesy but quite nice. If you lie on the ground an watch it for some time, the spiral seems to stop and the room rotates instead.


The LED lamp

the knob lets you choose the color or the speed the color changes

color LED lamp

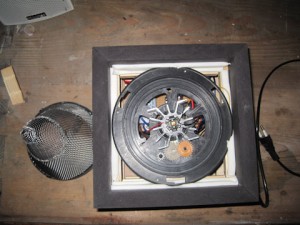
the turning mechanism

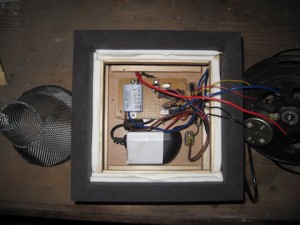
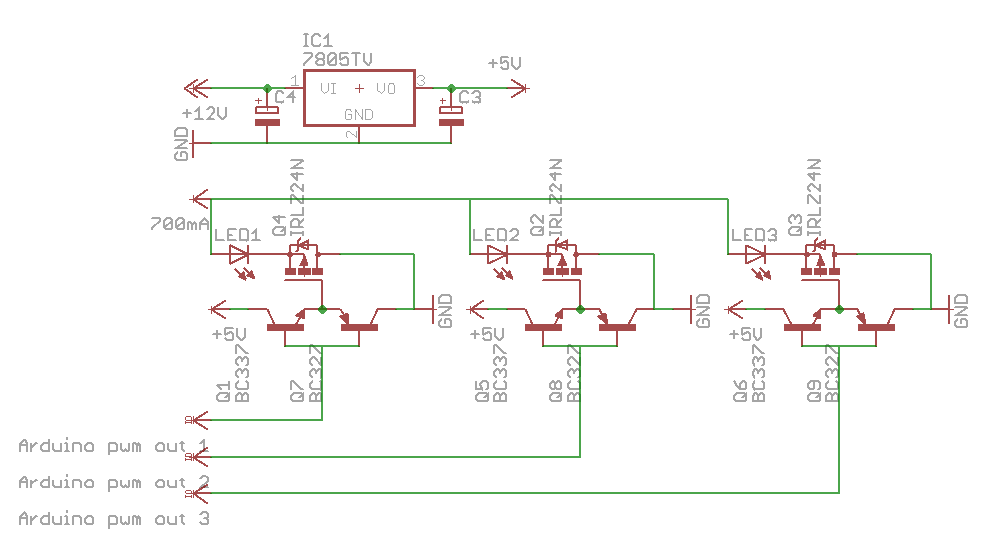
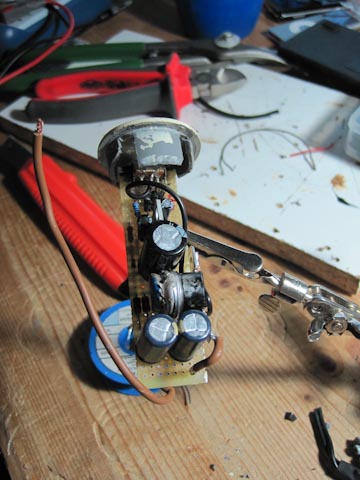
inside: a 12V power supply and a constant current supply for the led, an atmega 328 (arduino)

Of course, the Atmega32-8 is completely oversized for such a project, but it was at hand and programmable via the Arduino. I’m sure the extra constant current supply is also obsolete, but I didn’t get to try otherwise. Comments how to optimize the setup are always appreciated.

Tags: , , ,
Posted in Blog | Comments Off on A little LED-Lamp